Pipe and Drape Assembly – How A Slip Fit System Goes Together
The slip fit system is probably the easiest pipe and drape system to put together. First we should identify the parts, they are listed below with images.

Slip Fit Uprights
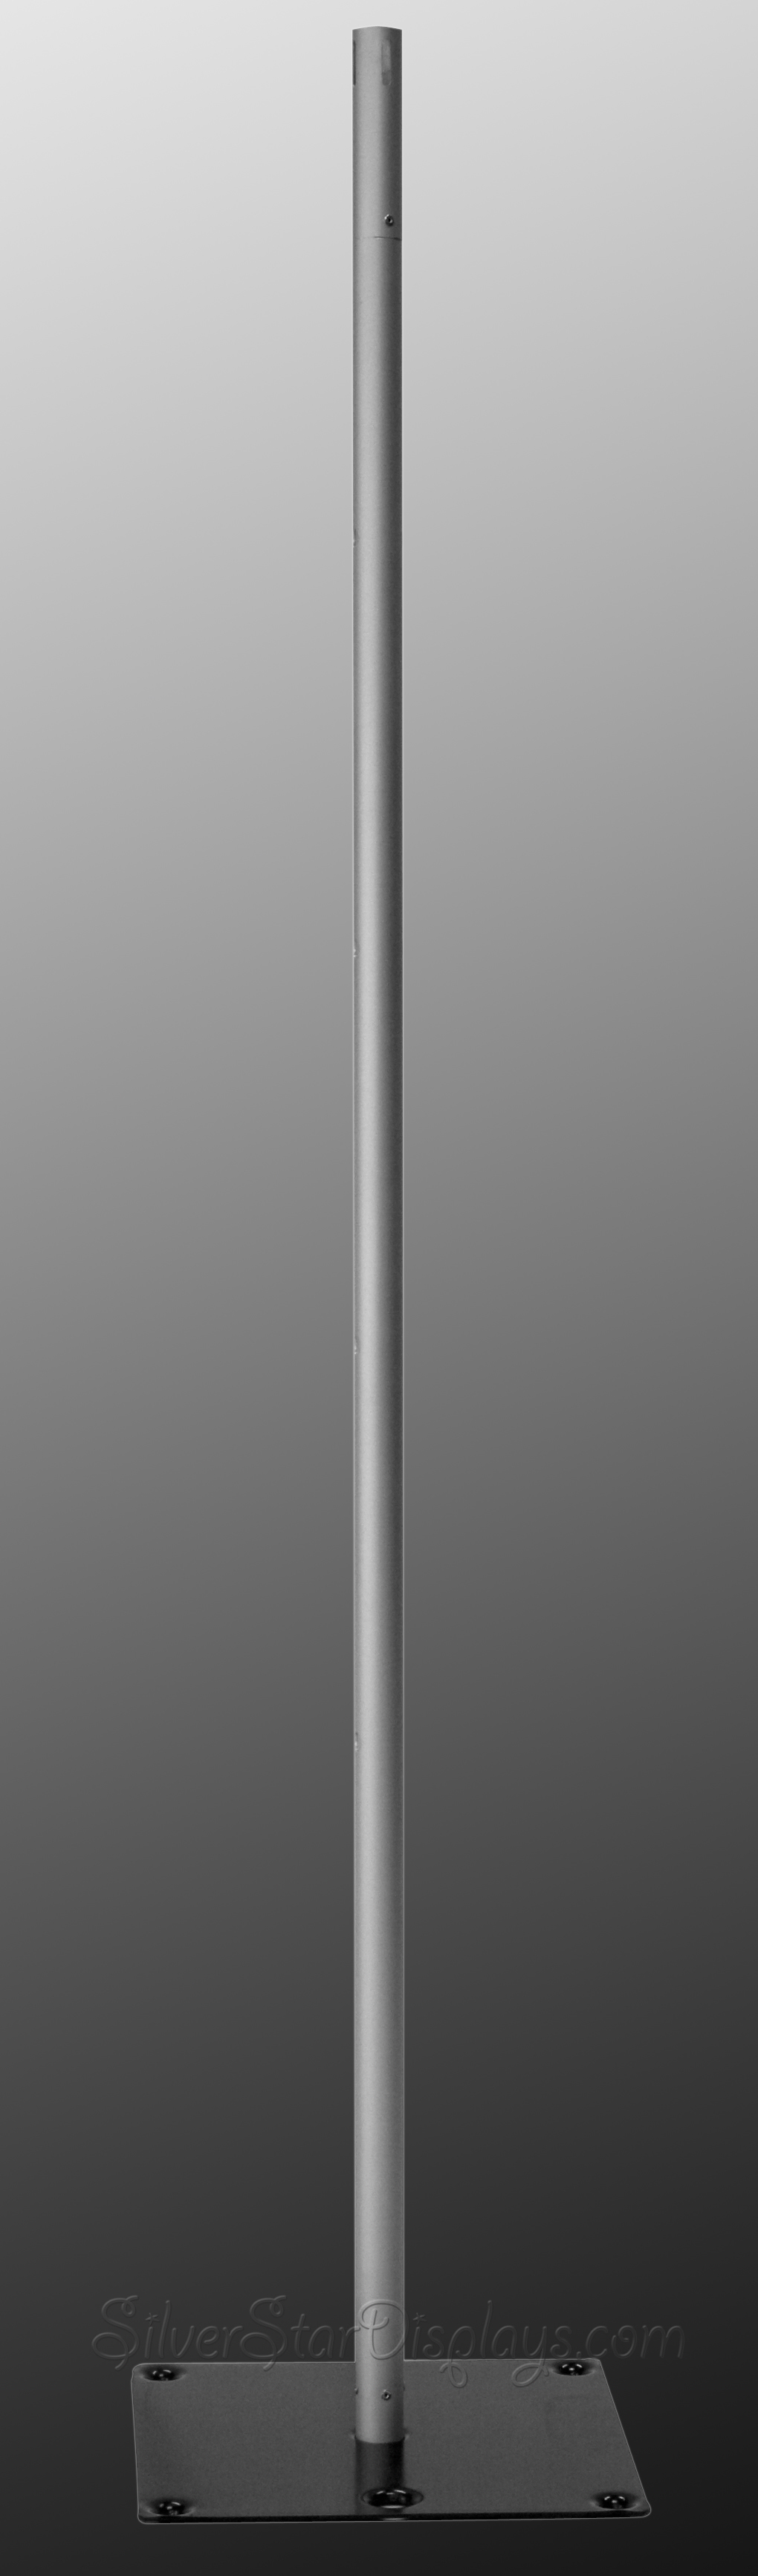
Slip Fit Uprights
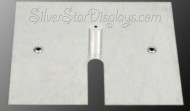
Slip Fit Bases
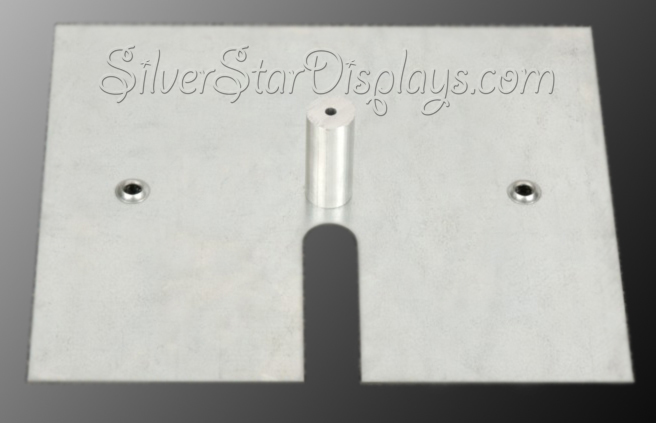
Slip Fit Bases
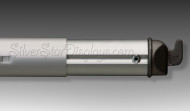
Drape Supports
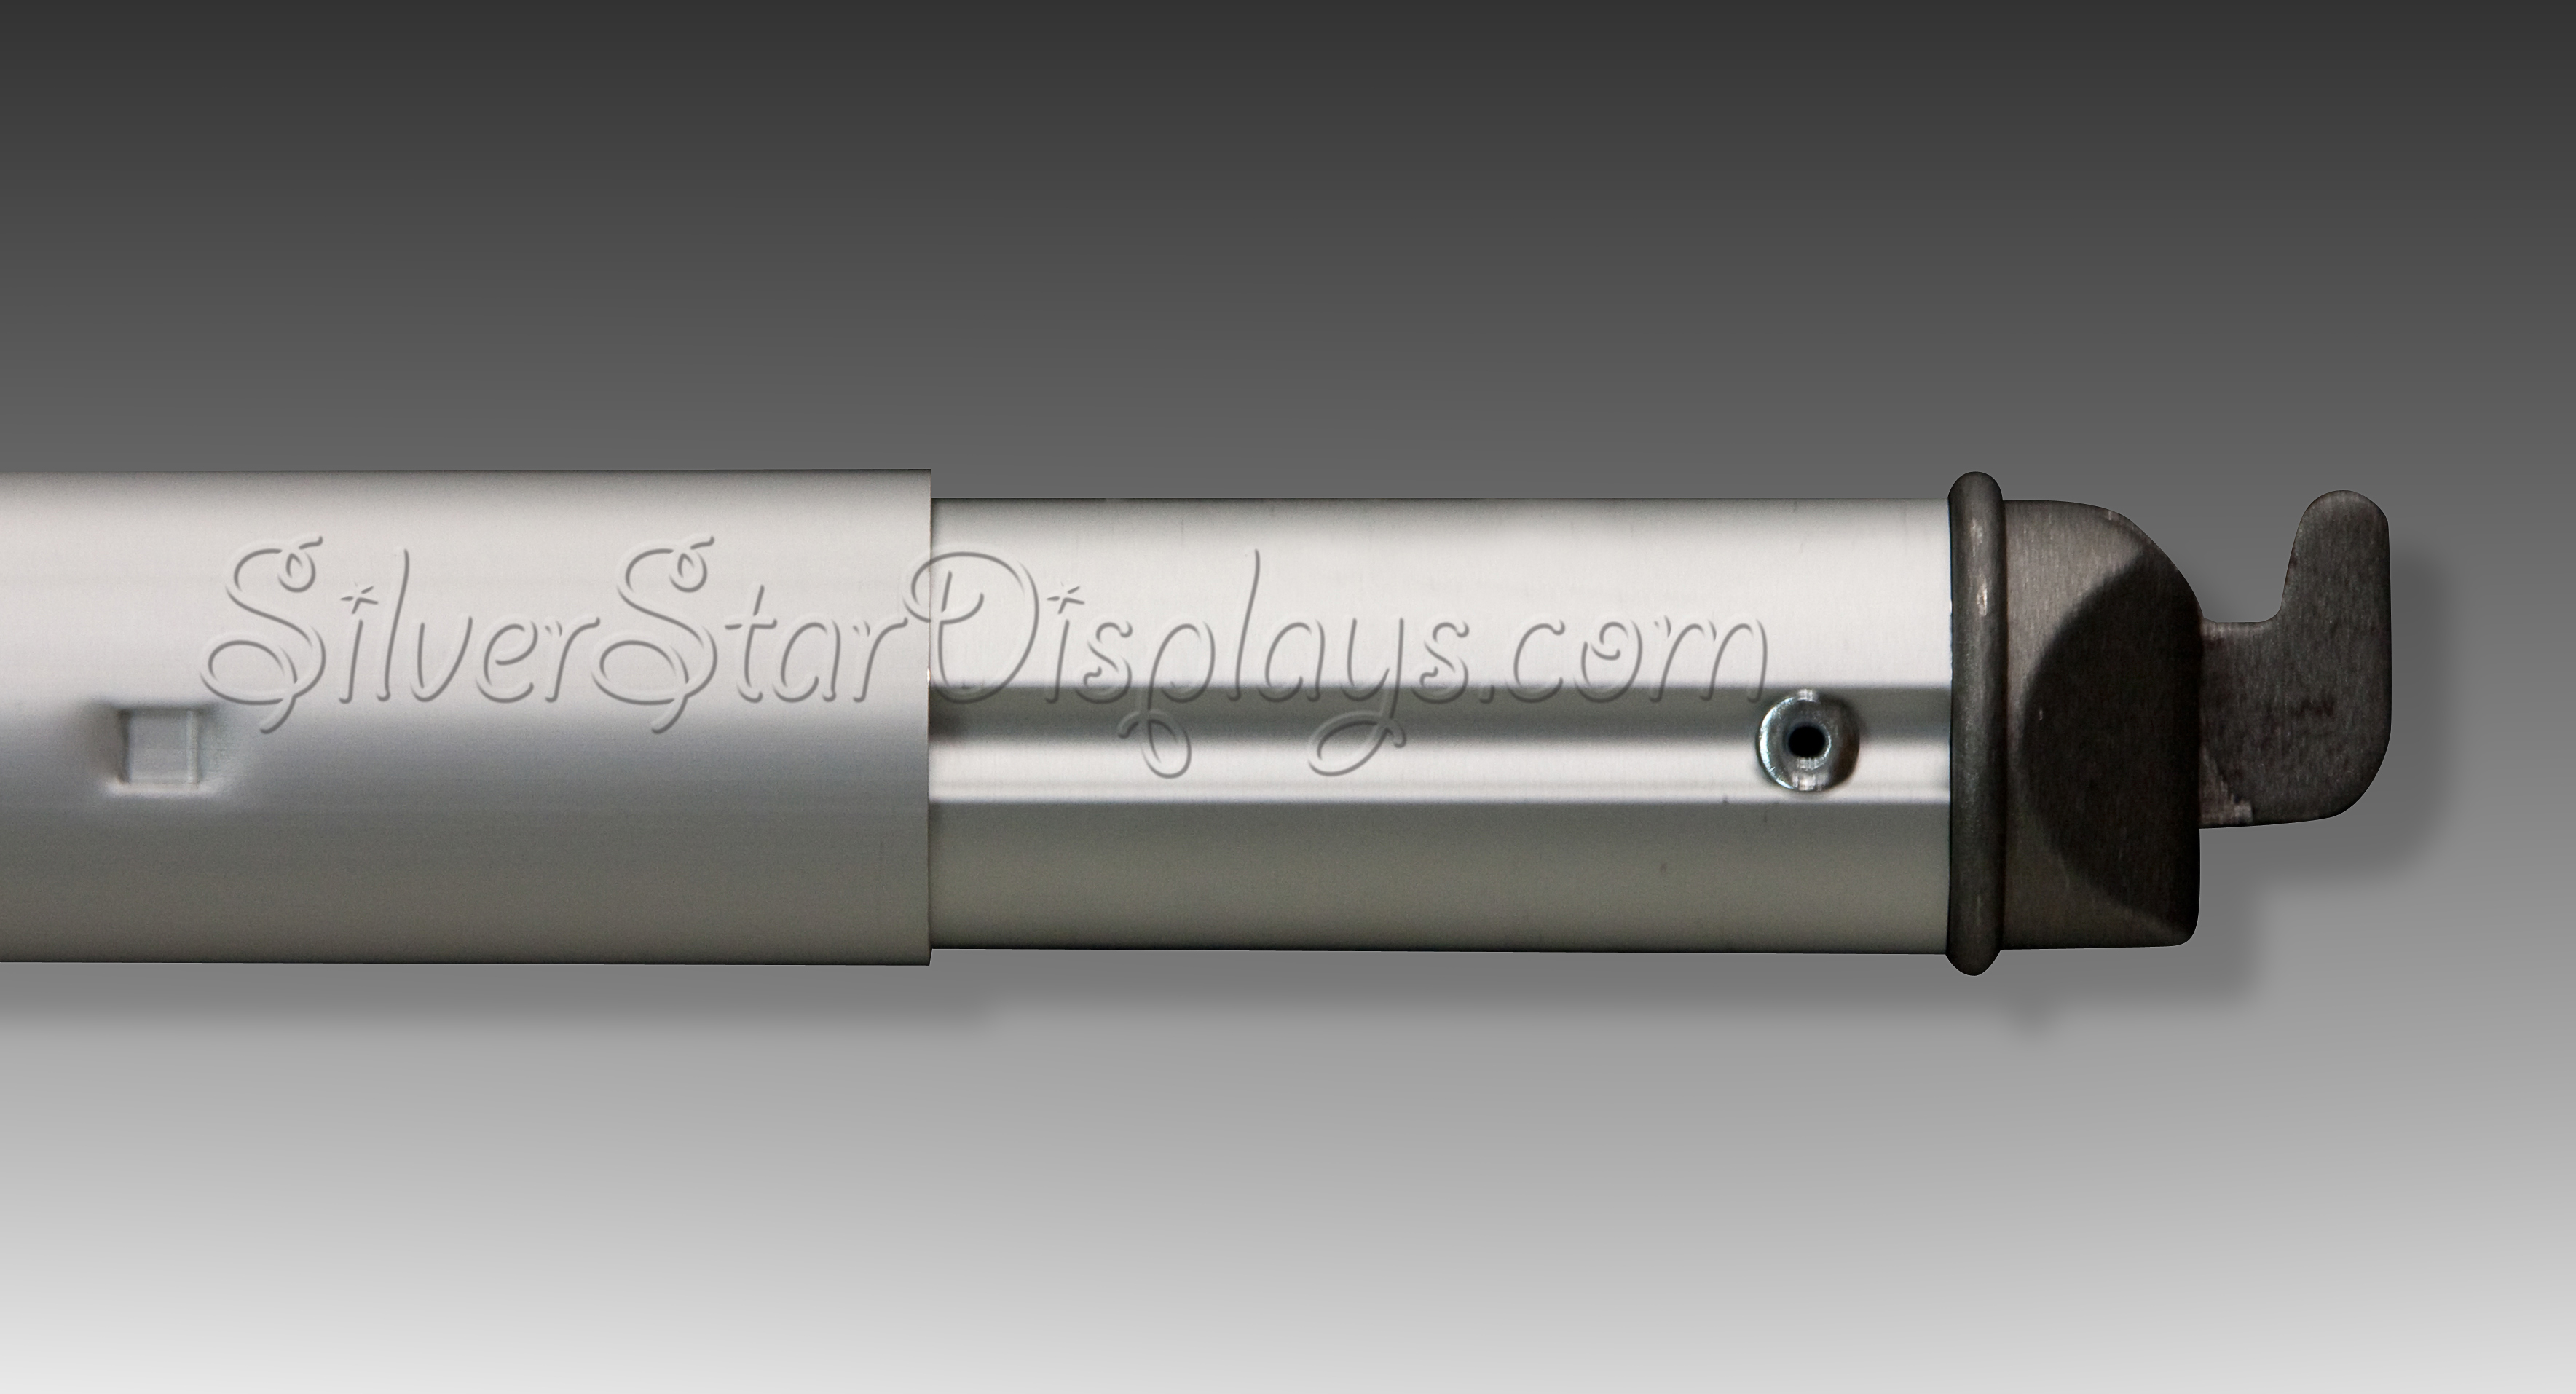
Drape Supports

Drapes

Drapes
Now that we have identified that parts, lets talk about how the pieces of this puzzle go together.
Step One: The first item you want to grab from your pipe and drape system is your base. You will want to install the nipple by inserting the screw into the bottom of the base and tightening it. Now place the base where you would like the first upright to go. Continue to place the rest of the bases where you would like them to go. You do not have to place all the bases in the exact spot the first time. Place them in a general pattern.
Step Two: Place the first upright onto the nipple, wiggle the upright a little to ensure good contact and the nipple is properly installed
Step Three: Grab your cross bars and your drapes (three or four depending on which material you are using). Place the drapes onto the drape support. Once you have extended the drape support to your desired length, lift one end up and insert the hook on the support into the slot on the upright. Now hook your cross bar into the next uninstalled upright. After inserting the hook from the drape support, place the upright on the next base. Now you have a back wall.
Step Four: Continue the process from step three until your system is installed.
So, there it is, It probably took more time to read this instructional than it will to install your pipe and drape system. If you have any suggestions, please post them in the comments sections. If you have any questions about pipe and drape, we are happy to answer them, even if you didn’t purchase from us.